In a nutshell
- 🛡️ The Vaseline barrier—a pinhead film along sidewalls and under the free edge—creates a hydrophobic seal that slows water ingress, prevents micro-fissures, and stops chips; precision, not quantity, is the secret.
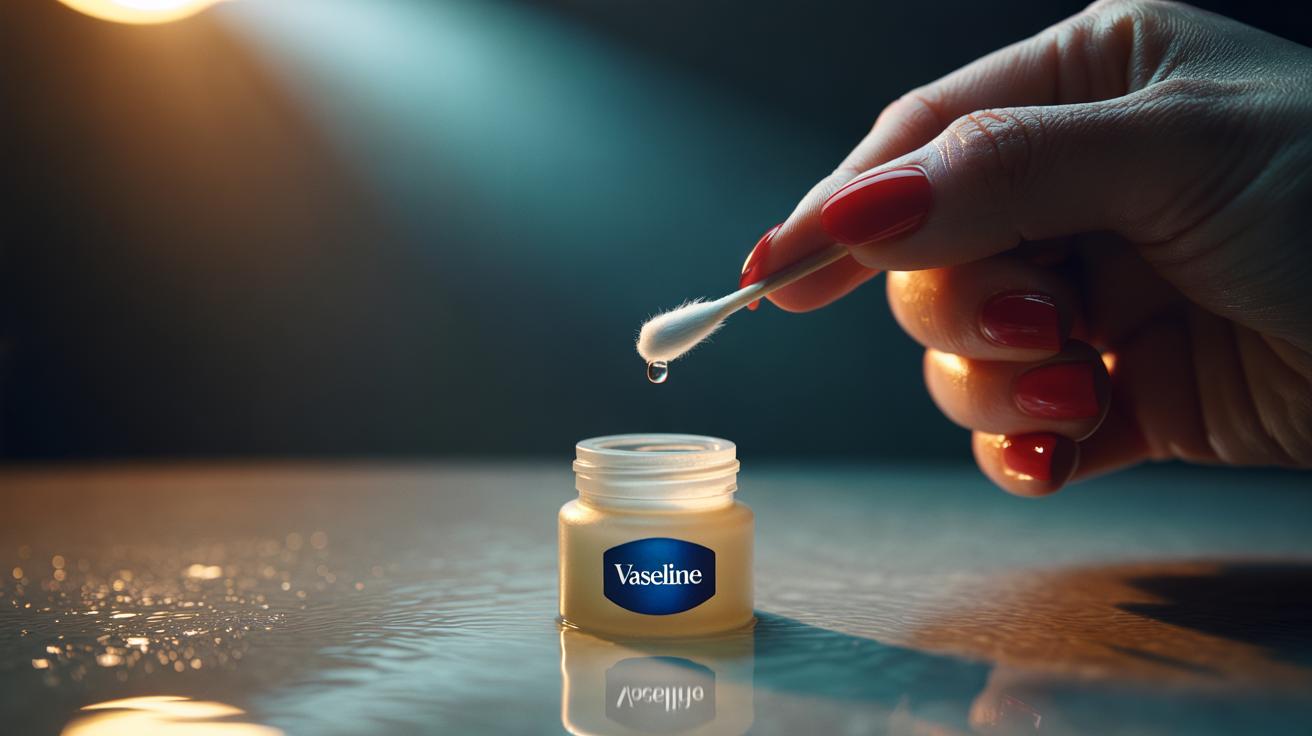
- 🧭 Step-by-step: cleanse with alcohol, apply base + two thin colour coats + chip-resistant top coat and wrap the tip; fully dry; trace a whisper of Vaseline on skin/sidewalls/underside, blot, then reapply a micro-line nightly and refresh top coat midweek.
- 🧪 Myths debunked: oils only lift polish if on the nail plate pre-paint; chips stem from water + mechanical stress; top coat alone isn’t enough—the top coat hardens, the jelly repels water, and together they outperform either.
- ⏳ Durability & safety: gels can hit three weeks; regular polish often reaches 12–18 days with gloves, minimal soaking, and careful re-sealing; keep undersides clean, avoid occlusion over cuts/infections, and patch-test if sensitive.
- 💷 High-value kit: a £1 tub of Vaseline, a good top coat, and alcohol wipes deliver salon-like longevity on a budget; one tub lasts months, making it a best-value upgrade for winter-worn hands.
It sounds like a beauty myth. A £1 pot of Vaseline that keeps nail polish looking salon-fresh for nearly three weeks. Yet there’s a quietly viral hack that manicurists whisper about and busy commuters swear by. The secret isn’t slathering petrolatum over your manicure. It’s a precise, strategic barrier placed where chips are born. Used properly, this trick helps regular polish resist water, knocks back micro-cracks, and softens daily wear without dulling shine. I tested the method across frantic typing, dish duty, and chilly school runs. Here’s how the Vaseline barrier actually works—and what you must do to make the most of it.
How the Vaseline Barrier Works
Chips typically start at the free edge and sidewalls. Water seeps in, keratin swells, polish stiffens, and repetitive expansion creates micro-fissures. A thin, correctly placed film of petroleum jelly forms a hydrophobic seal that slows this cycle. Less water in. Less swelling. Less flaking. This is not about greasing the entire nail. It’s about guarding the borders where polish lifts first.
Think of petrolatum as a raincoat for the rim of your manicure. The polish remains crisp and hard on top, but the edges are protected against detergents, hot showers, and the sneaky moisture that undermines adhesion. Never flood the polished surface; keep the jelly to skin, sidewalls, and the underside of the nail tip. Done right, the barrier won’t dull shine or attract lint.
There’s chemistry here. Petrolatum is occlusive. It repels water, softens adjacent skin, and creates a flexible buffer that reduces sheer stress where nails meet polish. The result: fewer nicks turning into full-blown chips. Precision, not quantity, delivers the three-week win.
Step-by-Step: The £1 Trick
Start with squeaky-clean nails. Swipe with isopropyl alcohol to remove oil. Apply base coat, two thin layers of colour, then a chip-resistant top coat, wrapping the free edge each time. Let it dry fully—60 minutes for regular polish; for fast-dry top coats, 20–30 minutes still helps.
Warm a pinhead of Vaseline between fingertips. Gently trace along the sidewalls and cuticle perimeter, then slide the tiniest amount under the free edge, like sealing the rim of a jar. Blot any shine that creeps onto the polished surface with a tissue. Less is more; the film should be invisible, not glossy. Reapply a whisper-thin line after night-time handwashing. Add a light re-seal every 2–3 days.
Pair the barrier with smart habits. Gloves for washing-up. Avoid soaking nails in hot baths. Top up shine midweek with a minimal top-coat refresh, wrapping the tip again. The jelly protects; the top coat reinforces.
| Item | Purpose | Cost | When to Use |
|---|---|---|---|
| Vaseline (£1) | Hydrophobic edge seal | ~£1 | After polish fully dries; nightly micro-reseal |
| Top coat | Hard shell, tip wrap | £4–£10 | Day 0, then midweek refresh |
| Alcohol wipe | De-oil nail plate | £1–£3 | Before base coat only |
What Pros Get Wrong About Chips
Myth one: “Oils always make polish lift.” True if the oil hits the nail plate before painting. False if a micro-dose sits on the skin and underside after the manicure cures. Context matters. You want adhesion on the plate, flexibility on the borders. Apply only when the polish is fully dry, and never across the top surface.
Myth two: “Chips are all about cheap polish.” Quality helps, but most chips come from mechanical stress plus water exposure—typing, keys, laundry, steamy showers. The Vaseline rim interrupts the water side of that equation and softens edge impacts. Carry on abusing your nails and you’ll still chip, just later.
Myth three: “Top coat alone is enough.” Not quite. Top coats harden and gloss; they don’t repel water at the margins. The jelly barrier fills that gap. Together, they’re formidable. Think shield plus raincoat—both beat either alone.
Durability, Hygiene, and Safety
Can this really go three weeks? With gel polish, easily. With quality regular polish and disciplined habits, many reach 12–18 days; careful users report the full 21. Key variables: how you type, whether you wear gloves for cleaning, and how sparingly you apply the jelly. Heavy-handed application can smudge or attract lint. Be minimalist.
Hygiene matters. Keep the undersides clean; a soft brush and soap lifts residue before re-sealing. If you have cuts, paronychia, or suspected fungal issues, skip occlusion and consult a pharmacist. Petrolatum is generally safe and neutral, but patch-test if you’re sensitive. Do not trap grime under an occlusive layer.
Removal is straightforward. Before changing colour, wash hands with warm soapy water to break down the jelly, dry thoroughly, then use remover as usual. A £1 tub lasts months, making this one of beauty’s best-value upgrades. It’s pragmatic, portable, and frankly, a little brilliant for winter hands.
For the cost of a bus fare, the Vaseline barrier reframes how manicures survive daily life: less water ingress, fewer edge fractures, smarter upkeep. It won’t rescue a rushed paint job or reckless dish duty, but it will stretch good work further than you expect. Three weeks on a high street budget feels audacious. With care, it’s realistic. Will you try the £1 seal—and if you do, where do you think your manicure fails first: the tip, the sidewalls, or the cuticle line?
Did you like it?4.4/5 (24)