In a nutshell
- 🧽 Grout’s porosity traps grime; baking soda cleans via gentle abrasion and alkalinity, making soils release while protecting tile.
- 🌙 Apply a thick paste (about 3:1 baking soda to water), brush into lines, lightly mist, let it sit overnight, then scrub and rinse for pristine results.
- 🦠 For mildew shadows and odours, boost with 3% hydrogen peroxide; spot-test coloured grout, ventilate well, and dry surfaces thoroughly.
- 🛡️ Keep results with a penetrating sealer, quick weekly touch-ups using a pH‑neutral cleaner or bicarbonate slurry, and good ventilation to curb damp.
- 🛠️ Know limits: crumbling or heavily blackened grout may need regrout; address moisture issues like efflorescence, or call a pro for complex surfaces.
It’s the unglamorous strip between tiles that ruins bathrooms and kitchens: dingy grout. Yet the answer often sits in the pantry. A simple baking soda blast can make grout look pristine by morning, lifting stains you thought were permanent and softening mildew at its roots. The trick isn’t magic. It’s chemistry and patience. Work a concentrated paste into the lines, let it rest, and allow time to do the heavy lifting. Rinse at dawn, and your tiles gleam. Overnight dwell time is the quiet force multiplier that transforms results from “better” to “brilliant.” Here’s how and why this humble powder wins.
Why Baking Soda Works on Grout
Grout is porous. It drinks in soap scum, body oils, cooking splashes, and mineral deposits, then holds on, turning grey and mottled. Baking soda tackles that mess on two fronts: gentle abrasion and alkalinity. The tiny crystalline particles scour without scratching glazed tile or sound grout, dislodging grime from the microscopic voids. Meanwhile its alkaline pH helps break fatty residues and neutralise acidic soils, making contaminants easier to lift. This double act is especially effective against bathroom buildup that clings despite regular mopping.
There’s more at play. Grout cleans best when product stays in contact, which is why a paste outperforms a watery solution. The paste clings, slowly wicking into pores and keeping moisture where it’s needed. Letting that paste sit through the night gives chemistry time to work and capillary action time to draw stains out. Unlike harsh bleaches, bicarbonate is odourless and safer for routine use around children and pets when used sensibly. It won’t etch ceramic tile. It won’t fume. Yet it leaves lines brighter and more even after a single treatment.
Overnight Method: The Baking Soda Blast Routine
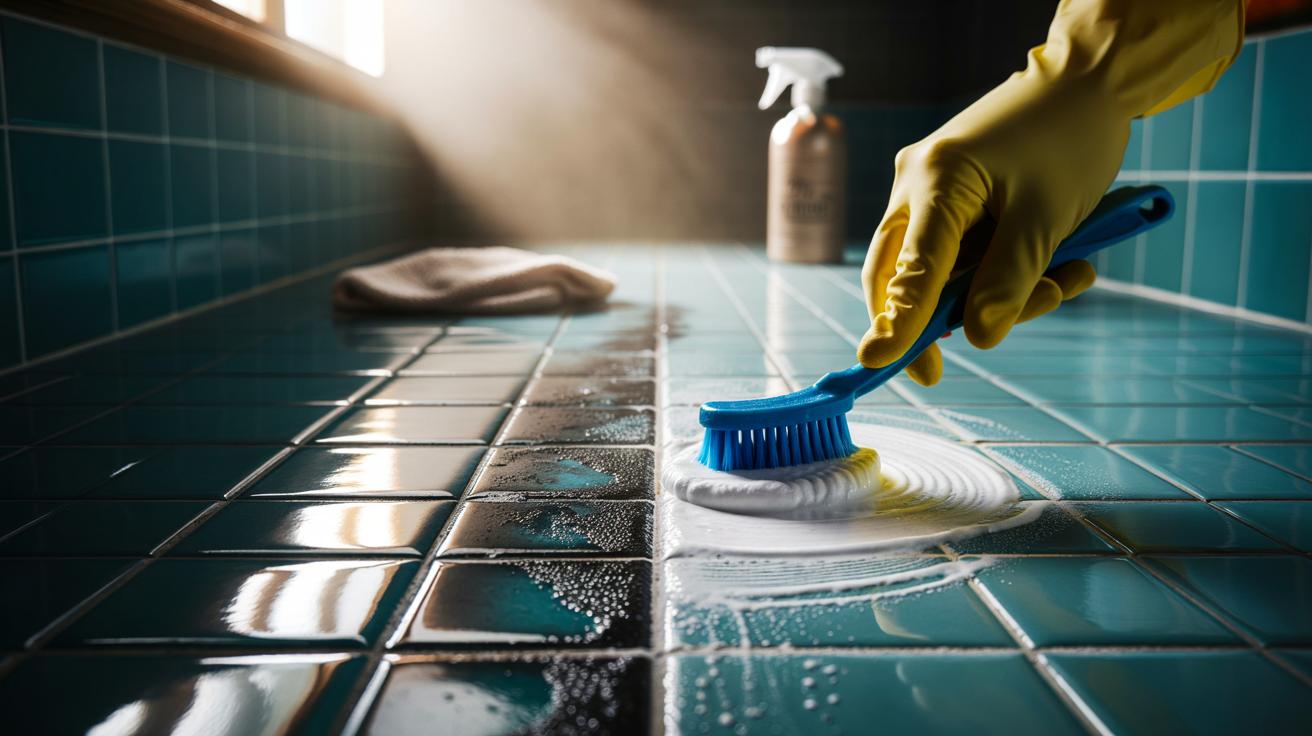
Start with cleanish lines: a quick wash removes loose dirt so the active paste can reach embedded soils. Mix baking soda with a splash of water until it’s thick, like icing. Use a soft nylon grout brush or old toothbrush to push the paste into the lines, working in small sections. Apply generously; thin smears dry too fast and underperform. For stubborn corners, dab a bit extra and lightly press so it sits proud of the grout. Avoid metal brushes that can gouge or shed. When you’re done, mist lightly with water to prevent premature drying, then walk away.
While you sleep, the paste clings and loosens deep-set grime. In the morning, agitate briefly with the brush, then rinse with warm water and wipe with a microfibre cloth. Mineral-rich areas may benefit from a final pass with a barely damp cloth to remove any fine film. If haze persists, buff dry. Repeat in a week for severe staining; maintenance thereafter is quick. Consistency beats heroics: one good night, then light touch-ups keep grout bright. For clarity on ratios, contact times, and surfaces, use the guide below.
| Mixture | Ratio | Use | Dwell Time | Surface Safety |
|---|---|---|---|---|
| Baking soda + water paste | 3 parts soda : 1 part water | General stains, soap scum | Overnight (6–12 hrs) | Safe on ceramic/porcelain grout |
| Baking soda + 3% hydrogen peroxide | 2 parts soda : 1 part peroxide | Mildew shadowing, light biofilm | 1–4 hrs (spot test) | Avoid on dyed grout; test first |
| Baking soda + white vinegar (sequential) | Paste first, then mist vinegar | Fizz to lift mineral film | 10–15 mins | Do not use on marble/limestone |
Dealing With Mildew and Lingering Odours
Mildew loves damp grout lines. While baking soda doesn’t bleach fungi, its alkalinity disrupts the environment they prefer and reduces the biofilm that shields spores. For persistent spots and faint musty smells, enhance the paste with 3% hydrogen peroxide. The mild oxidiser breaks down organic staining and deodorises without the choking fumes of chlorine bleach. Always spot-test coloured grout; oxidisers can lighten tints if left too long. Work the mixture in, let it sit for up to four hours, then rinse thoroughly. Keep the room ventilated. Drying is part of the cure, not an afterthought.
Still noticing shadows? That’s common where moisture wicks up from below. Address the source: improve extraction in bathrooms, reseal cracked silicone, and encourage airflow. A squeegee after showers prevents fresh colonisation on walls; in kitchens, wipe spills quickly to stop food sugars feeding growth. If you prefer a botanical nudge, a drop or two of tea tree oil in rinse water can help with odours, though baking soda remains the backbone. Eliminate damp, and you starve the problem. Once clean, applying a breathable penetrating sealer makes future mildew less stubborn and cleaning far faster.
Prevention, Sealing, and When to Call a Pro
Pristine grout is easier to keep than to rescue. After a successful baking soda blast, consider sealing. A quality penetrating sealer repels liquids without leaving a plasticky film, making day-to-day wipe-downs effortless. Reapply annually in busy showers, every two years on splashbacks. Keep maintenance simple: weekly quick scrubs with a damp bicarbonate slurry or a pH-neutral cleaner prevent re-soiling. Skip harsh acids on natural stone and avoid coloured scouring powders that can stain. Ventilate after hot showers, and use a bath mat that dries fast. Small habits compound into cleanliness you can see.
There are limits. If grout is crumbling, severely cracked, or blackened end-to-end, cleaning alone won’t restore it. That’s a repair job: rake out damaged sections and regrout. Likewise, efflorescence (chalky white salts) suggests water migration that needs fixing at source. Professional help is wise when you face widespread discolouration across sealed stone, complex mosaics, or unknown past sealers that react unpredictably. But for the vast majority of dingy lines in ordinary bathrooms and kitchens, baking soda delivers. It’s low-cost, low-odour, and high-impact—especially overnight.
Grout doesn’t have to advertise the age of your home. With a simple alkaline paste, a patient overnight pause, and a smart rinse, stained lines can rebound from grey to near-new without specialist kit or stinging fumes. Seal to lock in the win, keep moisture at bay, and touch up lightly when traffic shows. The result? Tiles that pop, rooms that feel cleaner, and a routine you’ll actually keep. Which area of your home will you tackle first with a baking soda blast, and what tweak will you add to suit your surfaces?
Did you like it?4.6/5 (20)