In a nutshell
- 🔬 Why it works: Tarnish is silver sulphide; fine salt provides gentle abrasion while egg white proteins lubricate, letting you lift the dull film fast with minimal scratching.
- ⚡ Speed and scope: Ideal for fresh, light tarnish—visible brightening in seconds and a real gleam within minutes—though deep black layers may need more robust methods.
- 🧰 How-to: Whisk one egg white with ~1 tsp fine salt into a silky, slightly gritty slurry; apply with a microfibre cloth in small circles, use cotton buds for crevices, then rinse and dry thoroughly.
- 🛡️ Safety first: Use light pressure, avoid soaking, and keep away from porous handles or organic stones; be extra cautious with silver plate and always test a hidden spot.
- 🔄 Smart alternatives: Reserve bicarbonate and foil for heavy tarnish and a commercial polish for a showroom finish—start mild, escalate only if needed.
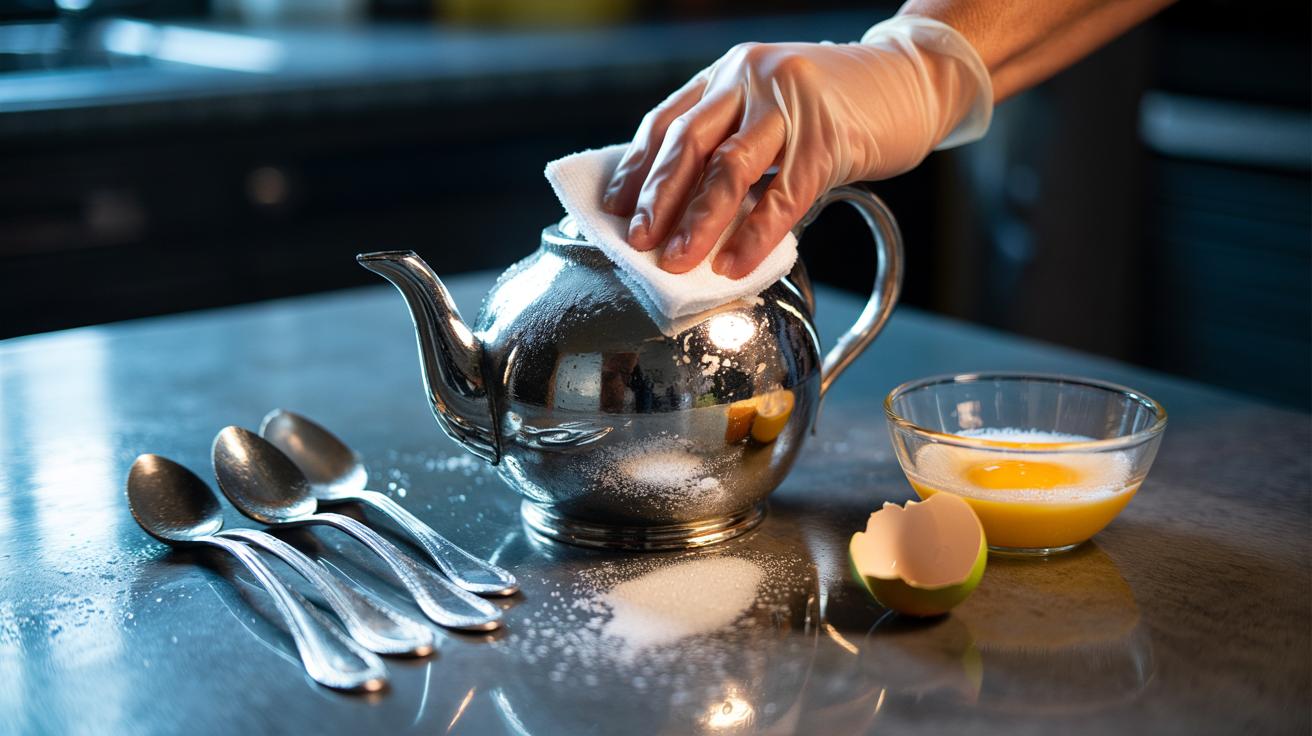
Silver doesn’t just dull; it sulks. A beloved teapot, a locket, a set of spoons—all gradually veiled by grey-black tarnish that blunts their sparkle and our mood. The pantry, surprisingly, offers a quick fix. A simple blend of salt and egg white can lift that tarnish with startling speed, restoring shine in minutes rather than hours. It’s not magic, but it feels like it. The mixture creates a slick, mildly abrasive medium that helps loosen the surface film while supporting a clean, controlled rub. Used correctly, this household duo revives silver fast, without harsh chemicals or expensive creams.
Why Salt and Egg White Work on Tarnish
Silver tarnish is primarily silver sulphide, a dull compound formed when silver reacts with sulphur in the air. The salt-and-egg-white pairing attacks the problem in two complementary ways. Fine salt crystals provide gentle abrasion, scouring the fragile tarnish layer without carving into the precious metal. Meanwhile, the egg white—rich in albumin and other proteins—creates a slick film that carries these crystals, lubricating the glide to reduce scratch risk.
There’s also light chemistry at play. Salt introduces chloride ions, boosting conductivity and helping to disrupt the sulphide film at the surface, making it easier to dislodge. The protein matrix keeps particles suspended so you rub evenly, not harshly. Results are especially rapid on thin, fresh tarnish. On lightly dulled silver, you can see a lift in seconds and a believable shine inside a minute. Heavier, blackened patches take longer and may require multiple passes, but you’ll still gain noticeable clarity quickly without the sting of chemical polishes.
Step-by-Step Method for a Fast Shine
Gather your kit: one fresh egg white, a teaspoon of fine salt (table salt works best), a soft microfibre cloth, cotton buds for crevices, and warm water for rinsing. Separate the egg, whisk the white lightly until just frothy—not stiff. Sprinkle in the salt and stir until dissolved, keeping a few undissolved grains for bite. The goal is a silky, slightly gritty slurry. Always test on a discrete spot first, especially for silver-plated pieces.
Apply a thin film to the silver, then massage in small circles with the cloth. Use light pressure and patience. For spoons and bangles, 20–40 seconds often transforms the surface. For chains or filigree, switch to cotton buds and dab rather than drag. As the tarnish lifts, the cloth may grey—good sign. Rinse under warm water, then dry thoroughly with a clean microfibre towel to avoid water spots.
For stubborn areas, repeat once or twice. Between passes, refresh the mixture so you’re not rubbing with a muddy slurry. Do not soak; the method is designed for short, controlled contact. Finish by buffing with a dry cloth to amplify the restored shine.
What to Expect: Speed, Limits, and Safety
This is a quick rescue, not a miracle for every case. On lightly tarnished silver, the effect is near-instant—an evident brightening on first contact, then a satisfying gleam as you buff. Moderate tarnish yields in a couple of passes. Deep, long-standing black sulphide layers may still need a dedicated polish or an electrolytic bath using bicarbonate and foil. Set expectations: rapid refresh for day-to-day dullness; methodical work for the rest.
Use common sense. Egg whites are perishable; mix fresh and discard after cleaning. Keep the slurry away from porous handles, textiles, wood inlays, and organic stones such as pearls, opals, or turquoise. If you’re dealing with silver plate, employ a very light hand to avoid thinning the plating. Wear thin gloves if you prefer, and ventilate if you’re sensitive to odours. Finally, rinse well and dry completely. Moisture left behind encourages new tarnish. If in doubt, consult a professional for antiques or items with sentimental or high monetary value.
Comparing Kitchen Fixes for Silver
Different jobs demand different tools. Salt and egg white excel at quick, cosmetic revivals where control and gentleness matter. The bicarbonate-and-foil bath, by contrast, targets heavy sulphide efficiently through a galvanic reaction, especially on pieces without glued fittings or porous elements. A good commercial cream straddles both worlds, combining surfactants and micro-abrasives with corrosion inhibitors. Choose on context, not habit.
| Method | Best For | Typical Time | Pros | Cons |
|---|---|---|---|---|
| Salt + Egg White | Light to moderate tarnish; quick spruce-ups | 1–5 minutes | Gentle, controlled, low-odour; pantry-friendly | Less effective on deep black tarnish; perishable mix |
| Bicarbonate + Foil | Heavier sulphide; uniform items | 5–10 minutes | Fast chemical reduction; minimal rubbing | Not ideal for glued stones; needs hot water set-up |
| Commercial Polish | Showroom finish; protection | 5–15 minutes | Reliable shine; leaves anti-tarnish film | Cost; chemical scent; risk of over-polish if misused |
| Toothpaste (non-gel) | Emergency spot cleaning | 1–3 minutes | Readily available; quick touch-ups | Can be too abrasive; rinse thoroughly |
Match the fix to the finish you want and the fragility of the piece. When in doubt, start mild and escalate only as needed. You can always polish more; you can’t un-scratch silver.
Salt and egg white won’t replace every polish in your cupboard, but they earn a spot for speed, control, and that gratifying moment when grey gives way to gleam. Used sparingly, they’re a smart first response after a dinner party, before a valuation, or when the family heirloom needs a lift before guests arrive. The secret is light pressure, short contact, and a meticulous rinse-and-dry. Ready to rescue your silver this weekend—and which piece will you try first?
Did you like it?4.7/5 (23)